I used to work with a lady who made the most amazing cinnamon rolls. The only problem was she wouldn't share the recipe. :) After years of failed attempts to make a cinnamon roll even remotely close to hers I finally came across this recipe and then when I finally got a bread maker, I was able to make my own amazing cinnamon rolls. The actual title for this recipe is "Better-Than-The-Mall Cinnamon Rolls" and seriously, they're close. And I love that for the dough all you have to do is throw the ingredients into a bread maker and it mixes it, kneads it, and does the first rising for you! And they are so easy to wrap individually and freeze. When I was pregnant with Micah I would wake up in the middle of the night hungry and I'd go downstairs to the freezer, get out a cinnamon roll, thaw it in the microwave and then proceed to eat the entire cinnamon roll. :) Oh my goodness, so terrible but oh so good. That all came to an end when I ended up with gestational diabetes. :) So wither you're in the mood for some yummy cinnamon rolls or you want to bring a nice treat to someone who has had surgery or just had a baby, here is an awesome recipe for you! It is a lot of steps as you can see by the number of pictures, but seriously, they're not hard. But with the risings and everything they do take some time, so make sure you have a couple of hours available because rising dough waits for no one. :) Enjoy!

Ingredients:
Dough: Butter, Milk, Eggs, Flour, Salt, Sugar, Active Dry Yeast
Filling: Butter, Cinnamon, Brown Sugar
Frosting: Butter (do you see a theme?:)), Cream Cheese, Powdered Sugar, Vanilla

Heat 1 cup of milk to between 105 and 115 degrees
(I heated it in the microwave on high for 90 seconds)

Melt 1/3 cup butter

Add to the bread maker tin the heated milk...
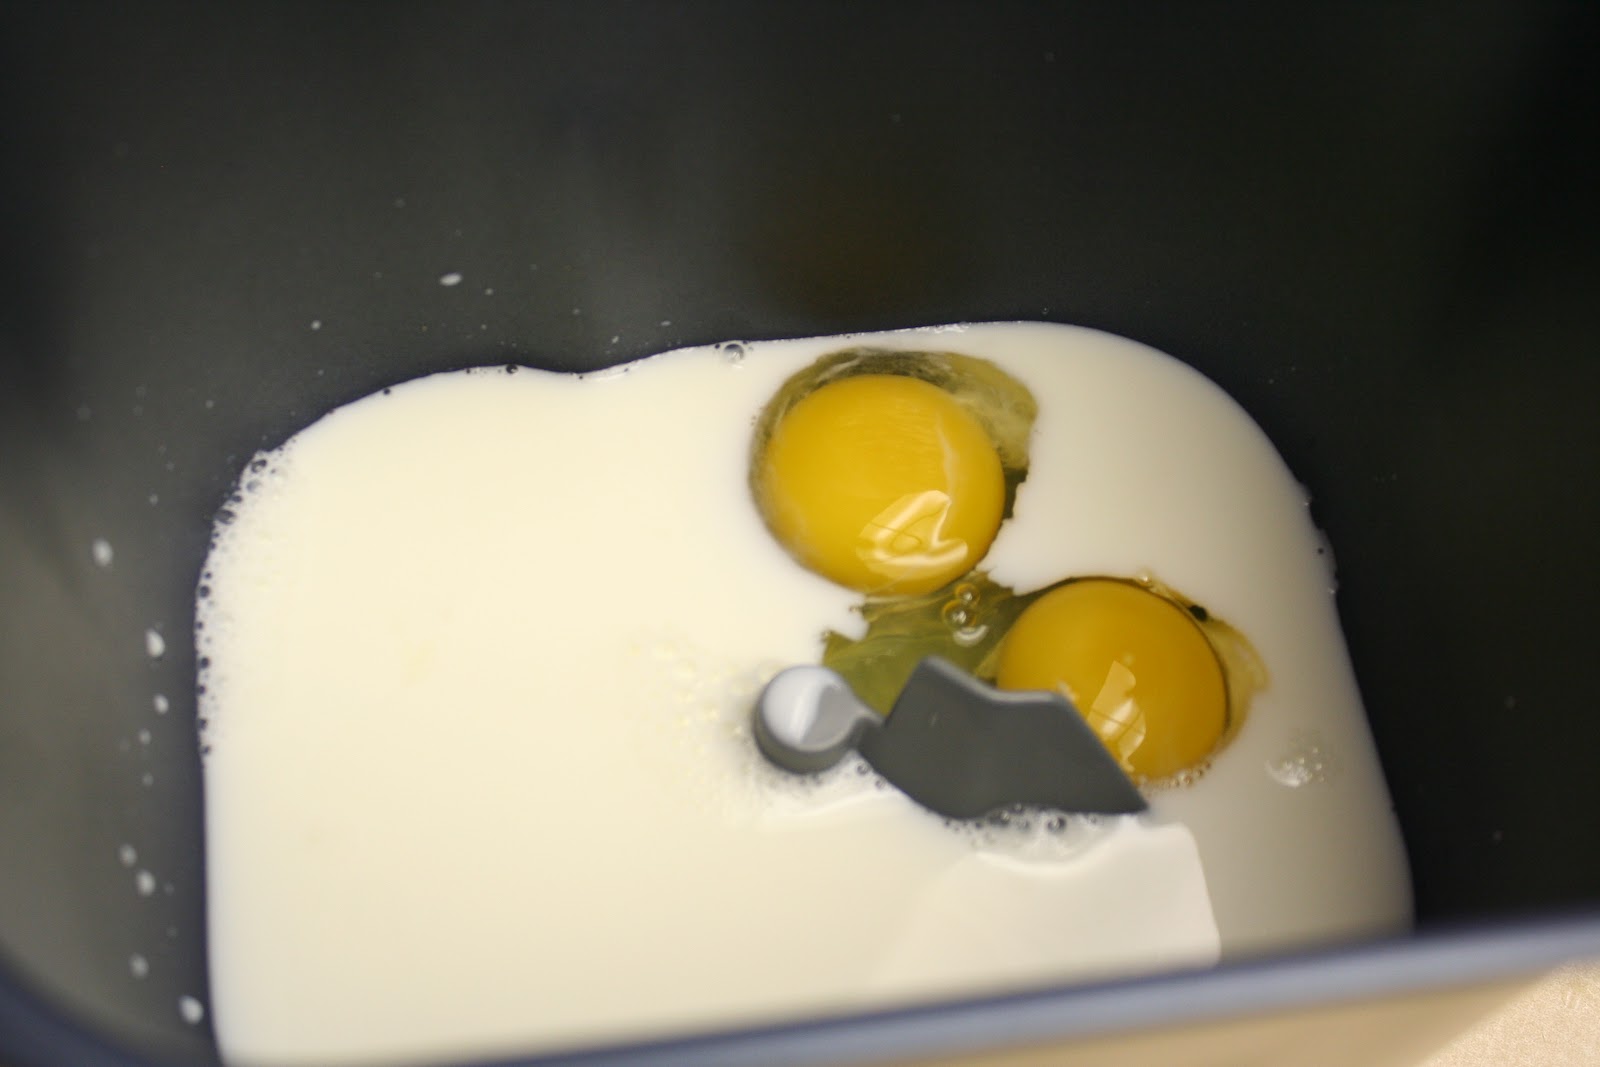
2 eggs...

Micah was making sure Mommy got all of the ingredients right :)

Mix the eggs around a bit so the yolks break

and the melted butter

Then add 4 1/2 cups all-purpose flour...

1 teaspoon salt...

1/2 cup granulated sugar...

and 2 packages active dry yeast

I had lots of people watching to make sure I got it all right :)

Put the tin in the bread maker..

Select the Dough cycle and press start. :) Now do whatever your heart desires for the 1 hour and 30 minutes the bread maker will be doing the work for you. :)

Once the cycle is done remove the dough from the tin and place on a lightly floured surface

Cover the dough with a towel and let it rest for 10 minute

For the filling mix together 1 cup of brown sugar...

And 2 Tablespoons of cinnamon
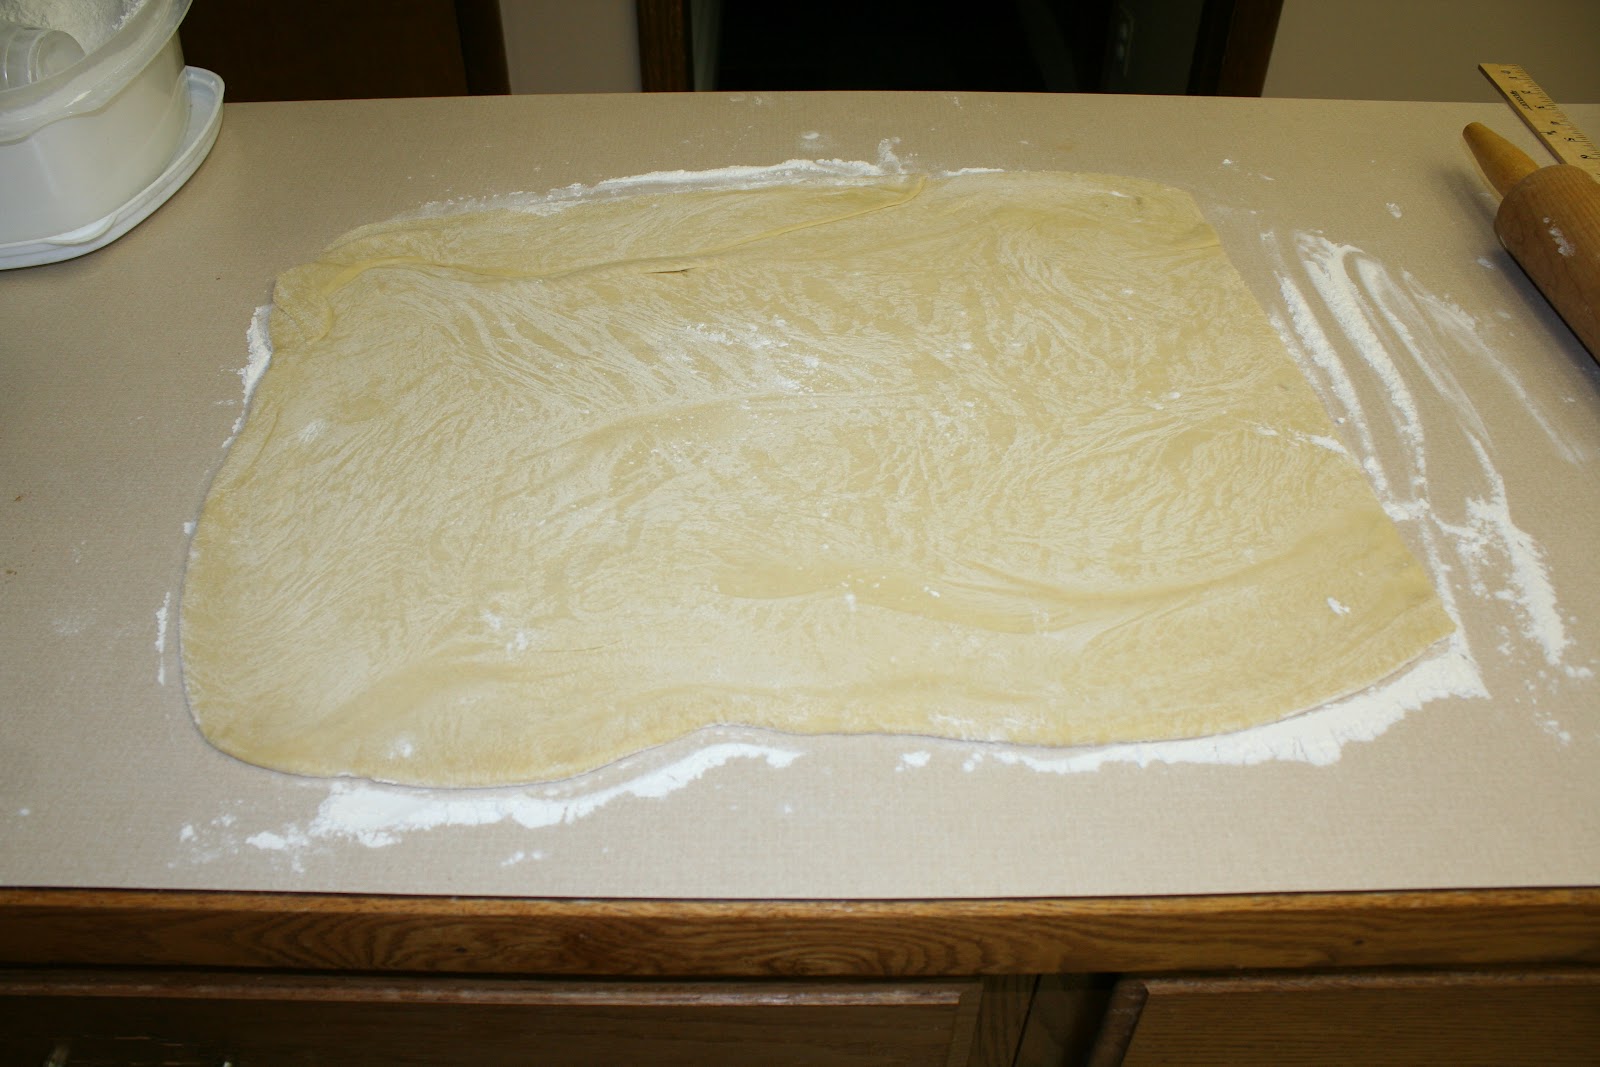
Roll out the dough into a 20x16-inch rectangle

Spread 1/3 cup softened butter all over the dough

Then sprinkle the filling mixture evenly over the dough

And spread it all out

Now the fun part, rolling it up. Just start at one end and begin rolling towards the other end, trying to keep it as tight as possible

When you get it all rolled up pinch the end shut (and ignore the nice oven burns on my arm :), and my nice Art Camp shirt, wasn't planning on being in any pictures:))

Now you want to cut the roll in 12 pieces.
I find it easiest to put a ruler up to the roll and then cut in half...

And cut the halves in half...

And then cut the quarters in 3 to make 12 even rolls

Place rolls in a greased pan. I find they fit best in a tin pan, but you can also use a 9x13 pan or a lasagna pan. Also, make sure you place the 2 end rolls end side down.

Now you need let the rolls rise for 35 to 45 minutes or until they've almost doubled in size. You want to place them in a warm place to rise. I find the easiest thing to do is place them on a cookie rack and place a pan of hot water underneath.

Then cover them with a towel.

So after about 45 minutes they would look like this. Then, bake them in a 350 degree oven for 20-25 minutes or until golden brown.

For the frosting cream together 5 ounces of softened cream cheese and
6 Tablespoons of softened butter

Add 2 1/4 cups of powdered sugar

And mix together until it's nice and smooth

Then add 1 teaspoon of vanilla and mix.

The rolls should look like this when done. Let them stand 5 minutes before frosting

Put frosting on each roll..

And spread around until it covers all the rolls

And then if you have the self-control, just look at those incredibly yummy cinnamon rolls and dream about the time when you will eat them :) Or...

Dig right in!!!
If you don't eat them immediately I recommend heating them up before you do-
30 seconds in the microwave works great for individual ones. You can also heat the whole pan up in the oven on 300 for about 20 minutes.
Go ahead, indulge yourself!!! :)
And if you feel up to it, share some with the people you love! :)
Better-Than-The-Mall Cinnamon Rolls
Rolls
1 cup warm mil (105 to 115 degrees)
2 eggs
1/3 cup butter, melted
4 1/2 cups all-purpose flour
1 teaspoon salt
1/2 cup granulated sugar
2 packages active dry yeast
Filling
1 cup packed brown sugar
2 Tablespoons ground cinnamon
1/3 cup butter, softened
Frosting
5 ounces cream cheese, softened
6 Tablespoons butter, softened
2 1/4 cup powdered sugar
1 teaspoon vanilla
Place all roll ingredients in bread machine pan in the order above. Select the Dough cycle (Do not use delay cycle). Remove dough from pan and place on a lightly floured surface. Cover and let rest 10 minutes. Mix together the brown sugar and cinnamon for the filling. Roll dough into a 20x16-inch rectangle. Spread 1/3 cup softened butter over dough; sprinkle evenly with brown sugar-cinnamon mixture. Roll up dough, beginning at 20-inch side; pinch edge of dough into roll to seal. Cut into 12 slices. Place in a greased 9x13 pan. Cover and let rise in a warm place for 35-45 minutes or until dough has almost doubled in size. Bake rolls in a 350 degree oven for 20 to 25 minutes or until golden brown. Beat all frosting ingredients with an electric mixer on medium speed until smooth and spreadable. Let rolls stand 5 minutes before frosting. Spread frosting on warm rolls.


